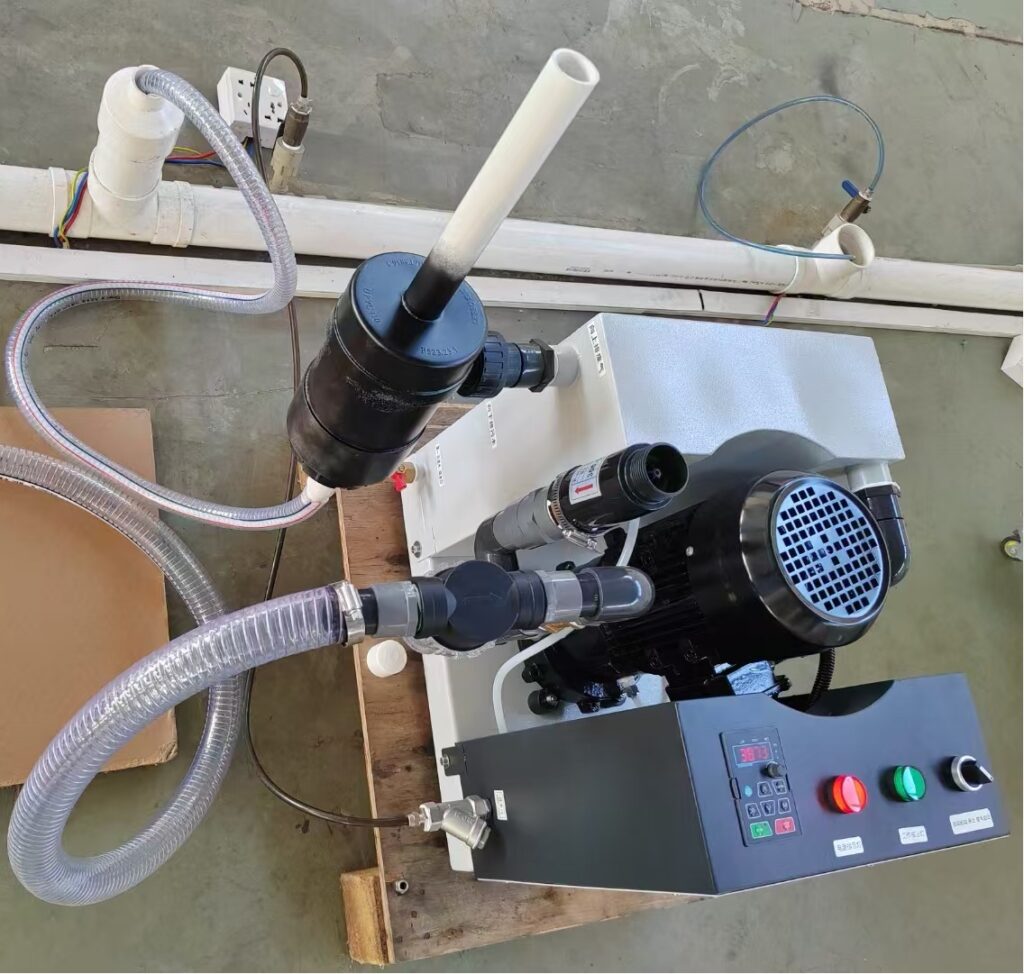
Attach the transitional short hard-pipe to the inlet filter component.
Connect this assembly to the outlet interface pipe from the dental chair.
5. Assembling the Outlet Interface From Dental Chair Connection
Install Outlet Interface:
Attach the Hose Clamp component to the outlet interface pipe.
Securely dock the vacuum pump to the dental chair outlet interface.
6. Connecting the Signal Wire
Install Signal Wire:
Connect the dental chair signal wire to the vacuum pump docking interface.
Note that polarity (positive/negative) does not need to be distinguished.
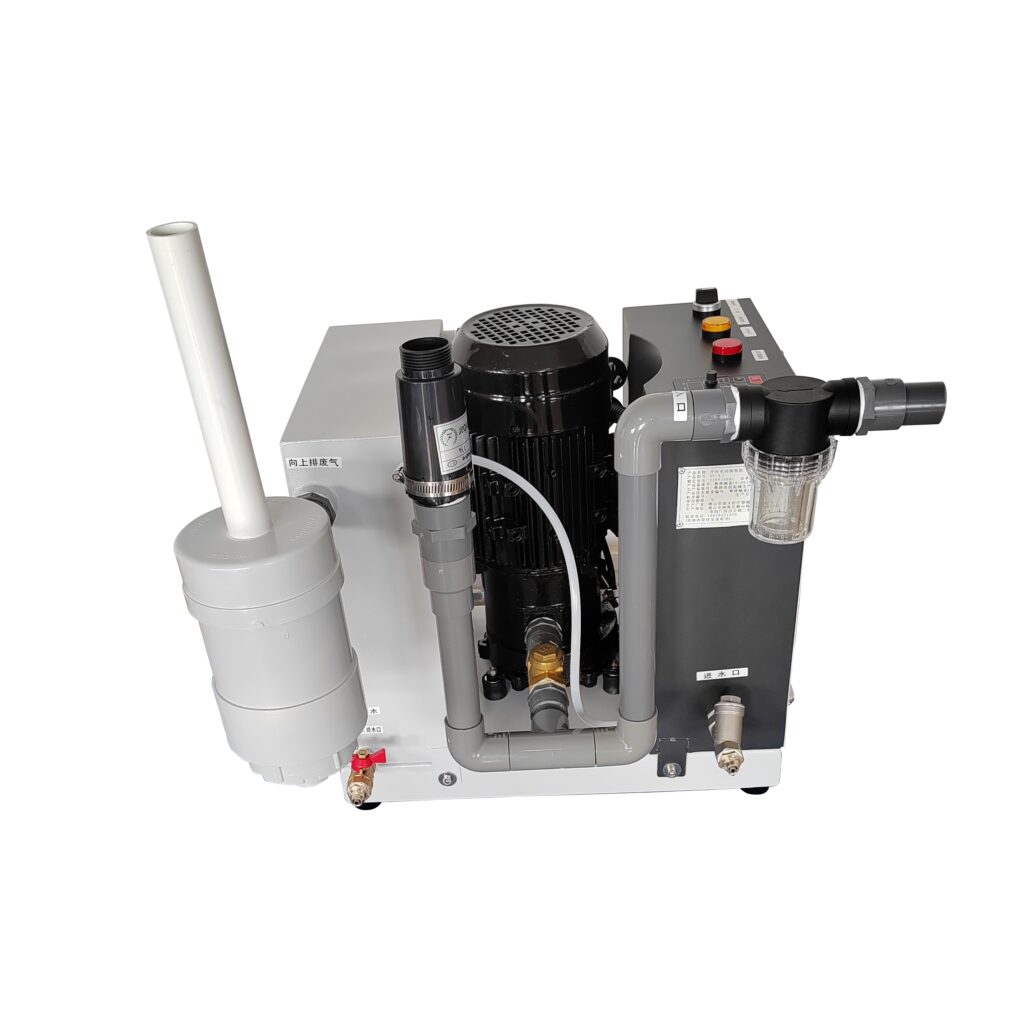
7. Installing the Water Vapor Separation Filter
Install Filter:
Mount the water vapor separation filter onto the left outlet water tank.
Attach the outlet pipe with the Hose Clamp and connect it to the sewage discharge pipeline.
8. Installing the Water Pipe
Initial Water Fill:
For the first use, connect the water pipe to the left water tank.
Rotate the water inlet switch to a vertical angle.
Fill the tank with water for approximately two minutes.
Switch the water inlet interface to a horizontal position in the left water tank.
Connect the water pipe to the right water tank. This setup ensures the wet water recycling design of the vacuum pump.
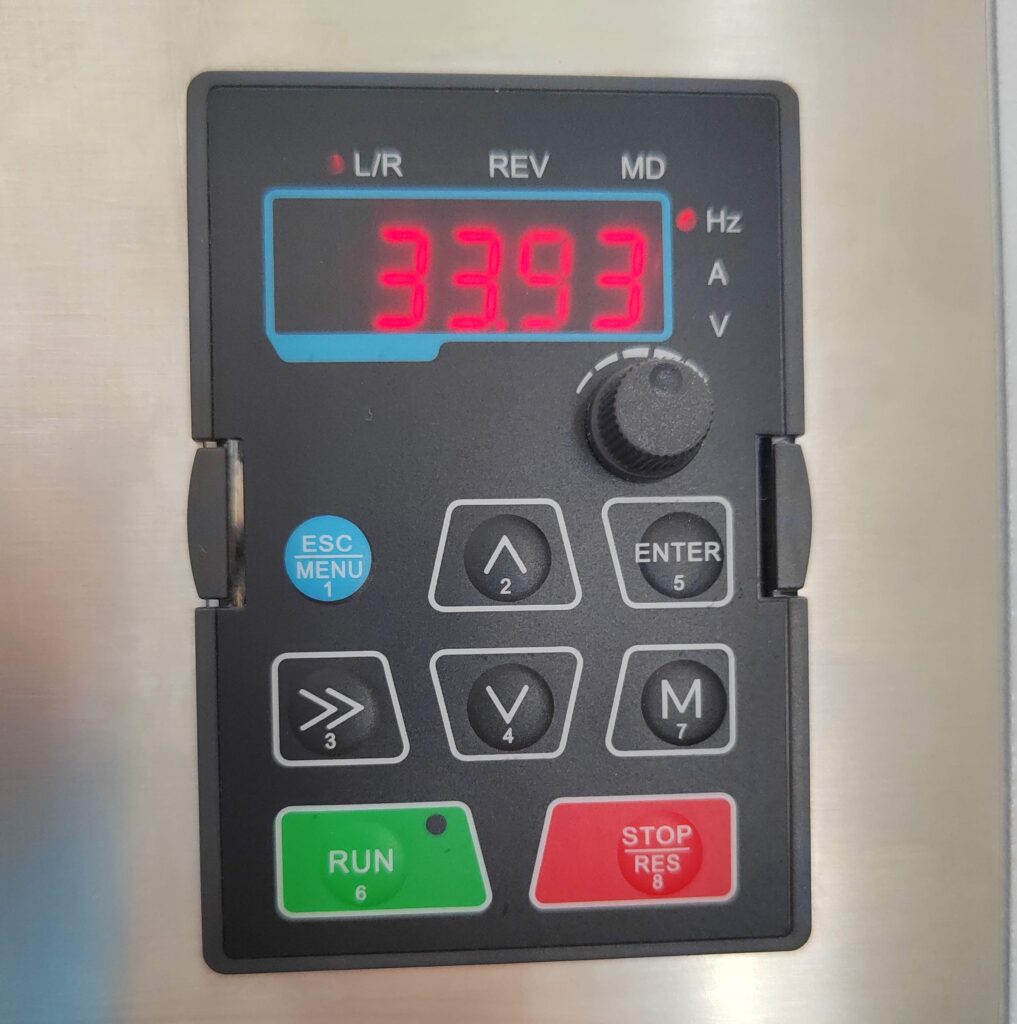
9. Setting the Operation Mode
Rotate Operation Button:
Adjust the operation button options:
Auto On (Synchronization): Left position
Off: Middle position
On: Right position
Set the appropriate vacuum parameter according to your dental chair’s requirements.
Conclusion
By following these steps, you will successfully install and configure your wet dental vacuum pump, ensuring optimal performance and efficiency in your dental practice.